
Quick start
This guide helps you set up MiniShop3 quickly and create your first products.
System requirements
| Requirement | Version |
|---|---|
| MODX Revolution | 3.0.0+ |
| PHP | 8.1+ |
| MySQL | 5.7+ / MariaDB 10.3+ |
| Composer | 2.x |
Dependencies
- pdoTools 3.x — for snippets and the Fenom template engine
- VueTools — Vue 3 and PrimeVue for the Manager interface
- Scheduler (optional) — for background tasks (import, notifications, cleanup)
Installation
Via MODX package manager
- Connect our repository
- Go to Packages → Installer
- Select the Modstore.pro provider, click Download Extras
- Find pdoTools, VueTools, Scheduler, and MiniShop3 in the catalog, one by one
- For each package, click Download and Install
More installation methods are on the main documentation page.
What happens during installation
MiniShop3 automatically:
- ✅ Creates database tables via Phinx migrations
- ✅ Registers snippets, plugins, and chunks
- ✅ Installs system settings with the
ms3_prefix - ✅ Creates default order statuses
- ✅ Creates delivery and payment methods
Initial setup
1. Store service pages
Create the following pages:
- Cart — place the
msCartsnippet - Checkout — place the
msOrdersnippet - Order placed — place the
msGetOrdersnippet - Customer account — place the
msCustomersnippet with theprofileservice - Customer orders — place the
msCustomersnippet with theordersservice - Customer addresses — place the
msCustomersnippet with theaddressesservice
Template examples for each page are in /core/components/minishop3/elements/templates/. For a quick start, copy the template markup as-is and adjust it to your design.
2. System settings
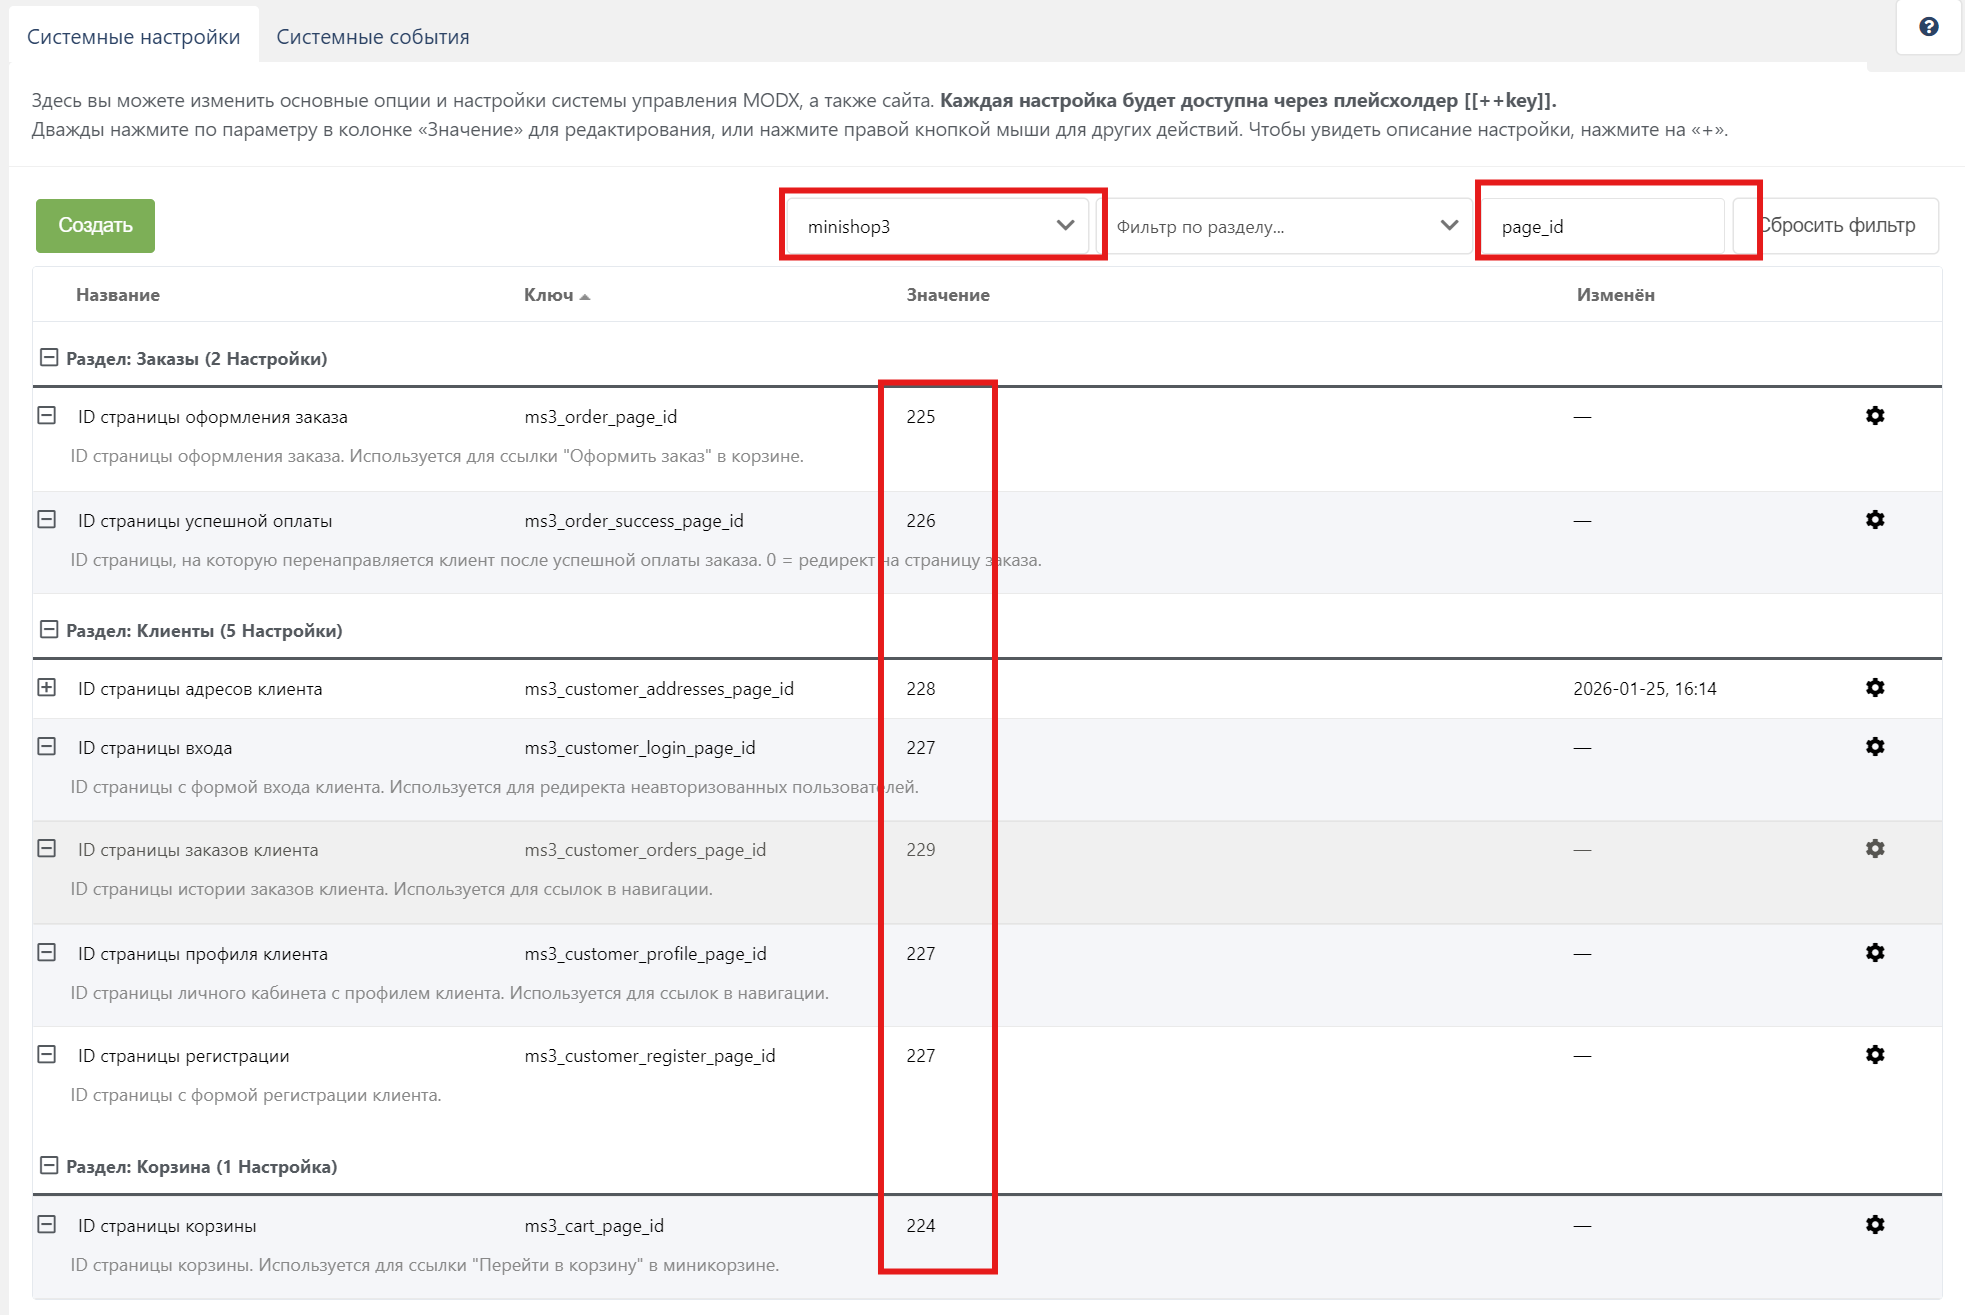
Go to System Settings and find settings in the minishop3 namespace (you can search for page_id):
| Setting | Description |
|---|---|
ms3_cart_page_id | ID of the cart page |
ms3_order_page_id | ID of the checkout page |
ms3_order_success_page_id | ID of the page the customer is redirected to after successful payment |
ms3_order_redirect_thanks_id | ID of the "Thank you for your order" page |
ms3_customer_login_page_id | ID of the customer login page (usually the same as the profile page) |
ms3_customer_register_page_id | ID of the customer registration page (usually the same as the profile page) |
ms3_customer_profile_page_id | ID of the customer profile page |
ms3_customer_orders_page_id | ID of the customer order history page |
The full settings list is on the System settings page.
3. Creating categories
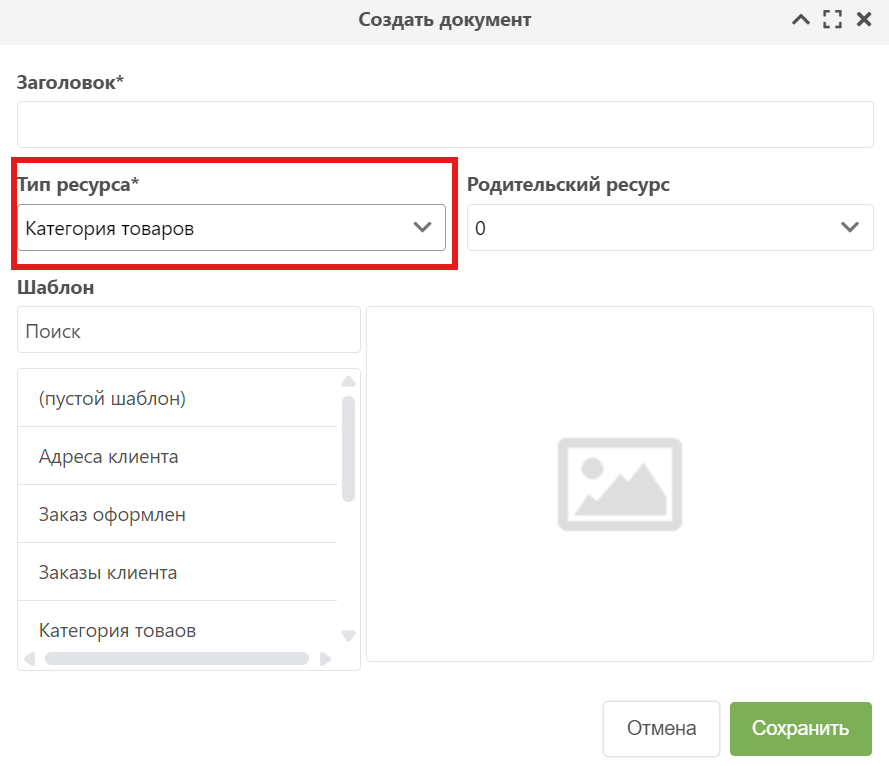
- Go to Resources
- Create a new resource with Resource Type =
Product category - Fill in the title, choose a template, and save
4. Creating products
- In the category, click Add product
- Enter the title, choose a template, and save
- After saving, fill in the Product properties tab:
- SKU
- Price
- Weight (optional)
- Image
- Save the product and check Published
Templates
For a quick start, the package includes ready-made templates you can copy entirely and then edit to match your design. Available templates:
core/components/minishop3/elements/templates/catalog.tpl— Catalogcore/components/minishop3/elements/templates/product.tpl— Product pagecore/components/minishop3/elements/templates/cart.tpl— Cartcore/components/minishop3/elements/templates/order.tpl— Checkoutcore/components/minishop3/elements/templates/thanks.tpl— Thank you pagecore/components/minishop3/elements/templates/customer.tpl— Customer account
Checkout
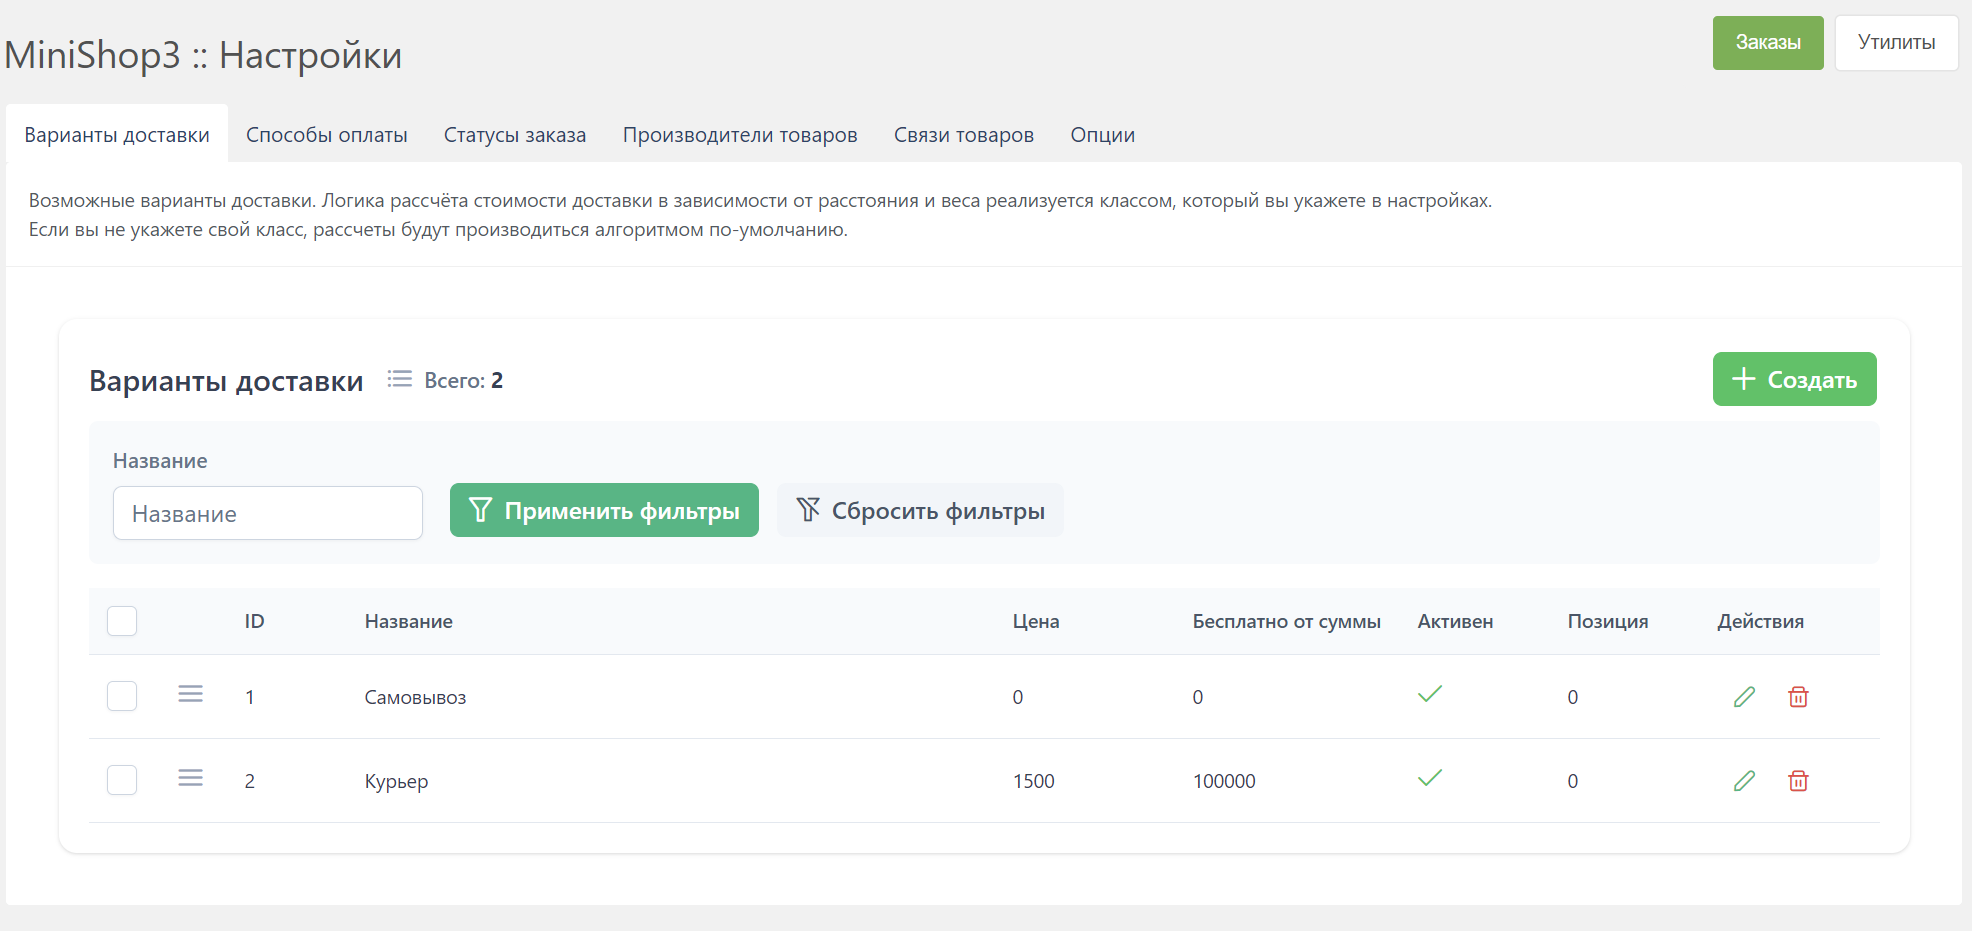
For checkout to work, make sure Settings has at least one payment method and one delivery method.
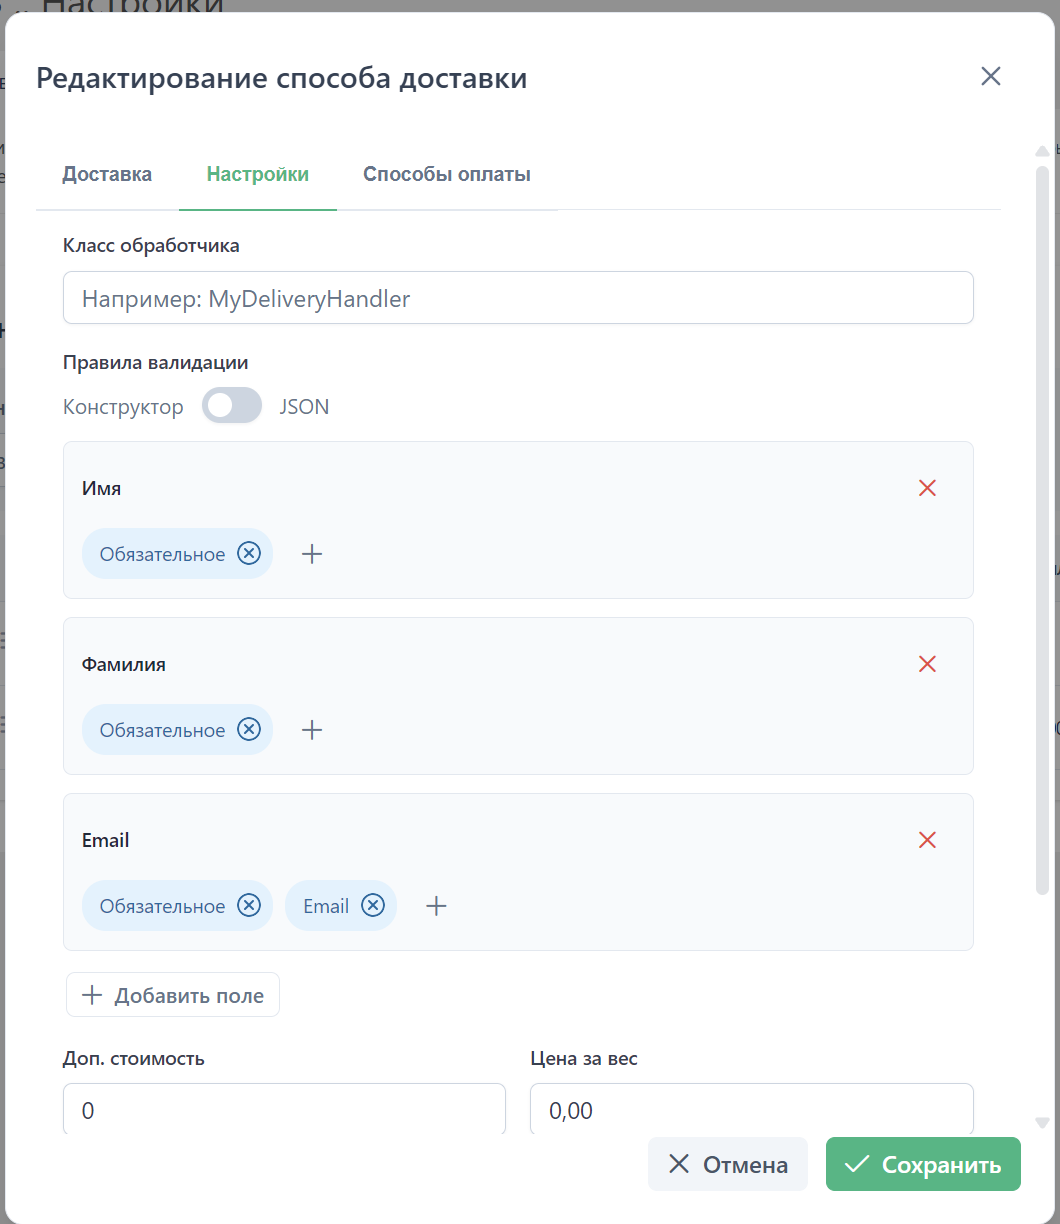
Finally, check that the delivery method you use lists the required fields for your case. Usually phone, first name, last name, and sometimes email.
Next steps
- Snippets — full snippet reference
- Manager interface — Manager UI overview
- Frontend interface — site UI, templates, and chunks
- Frontend JavaScript — using JS on your site
- REST API — API integration
- Events — extending via plugins