
Creating a form
Usually form creation is done by developers, but Formalicious lets content managers do it too.
Form creation is split into 3 steps, each in its own tab:
- Form settings.
- Form fields.
- Advanced settings.
Form settings
Main settings tab.
Внимание
When creating a form you must fill the first tab, save the form, and only then can you use the Form fields tab.
- Name – Internal name only; not shown on the site.
- Email title – Shown in the body of the email sent to Send to email.
- Send to email – Address that receives form submissions.
- Subject – Email subject.
- Redirect to – Resource ID to redirect to after successful submission.
- Save submitted forms – If enabled, forms are saved via the FormItSaveForm hook. Good for backing up submissions.
- Published – Whether the form appears in the TV selector.
- Send auto-reply – Enable to configure auto-reply. The visitor who submits the form receives a confirmation email. You must fill in the fields under this checkbox.
- Email field – Field whose value is used as the recipient for the auto-reply. The list is built from the form fields, so set up fields first, then auto-reply.
- Sender email – Sender address for the auto-reply.
- Email subject – Auto-reply subject.
- Email body – Auto-reply content. You can use simple HTML:
<b>,<strong>,<em>,<br>,<p>,<a href="link-here"></a>. - Attachment (optional) – File to attach to the auto-reply. Large files can make sending slow.
Form steps
You need to save the form first to access this tab. Double-click a step tab to rename it; press Enter to save.
Steps group fields on the front-end and add next/back buttons. You only need to style them.
Form fields
Each step contains fields. Click Add field and choose a type in the dialog. Another dialog opens for field settings. Name is the label; placeholder is the HTML5 placeholder attribute.
Each field has Required (must be filled to submit) and Published (show/hide the field).
Advanced settings
Configure pre-hooks, post-hooks, and FormIt parameters here. See FormIt hooks documentation.
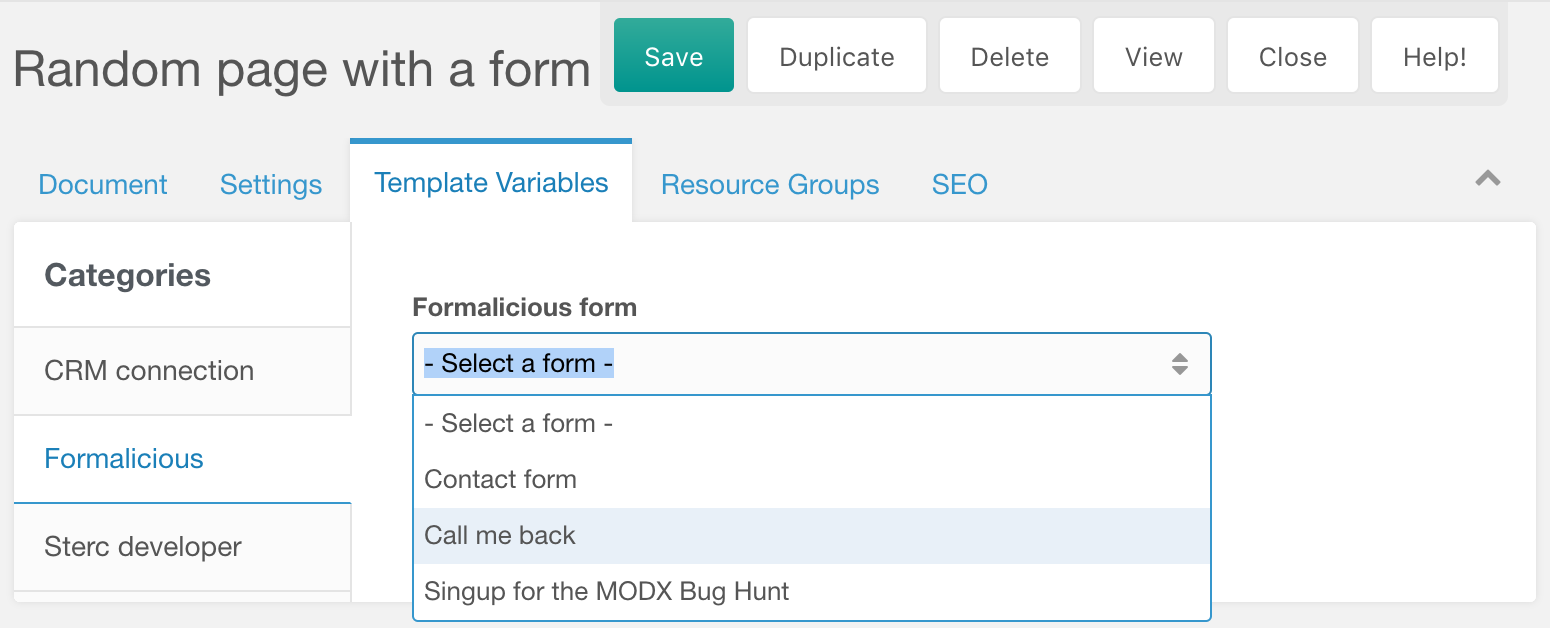
Displaying the form on a page
Go to the page and select a template that has the formalicious TV assigned. Then choose the form from the dropdown.
If you have ContentBlocks installed, you can use its Formalicious input type instead.