
Google
Getting API keys for Google
Register an application
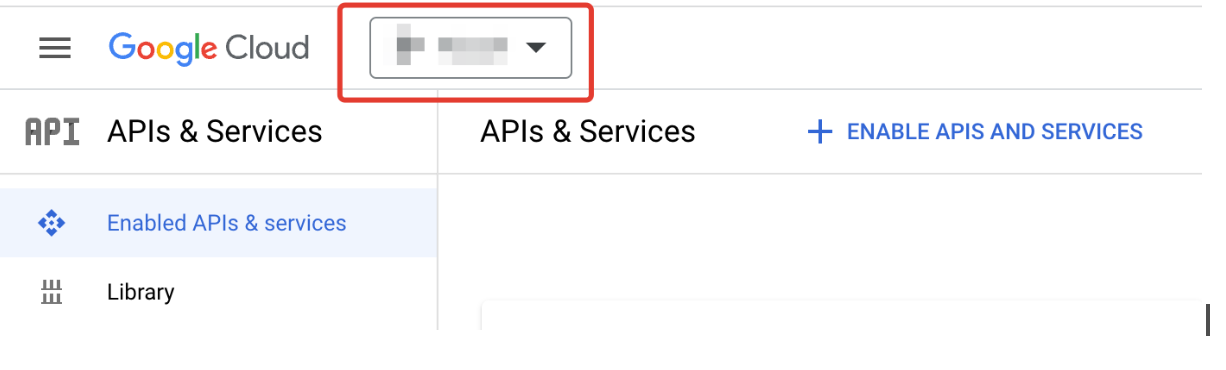
- Go to the Google API Console
- In the top bar, open the project list and create a new project
- Click New Project
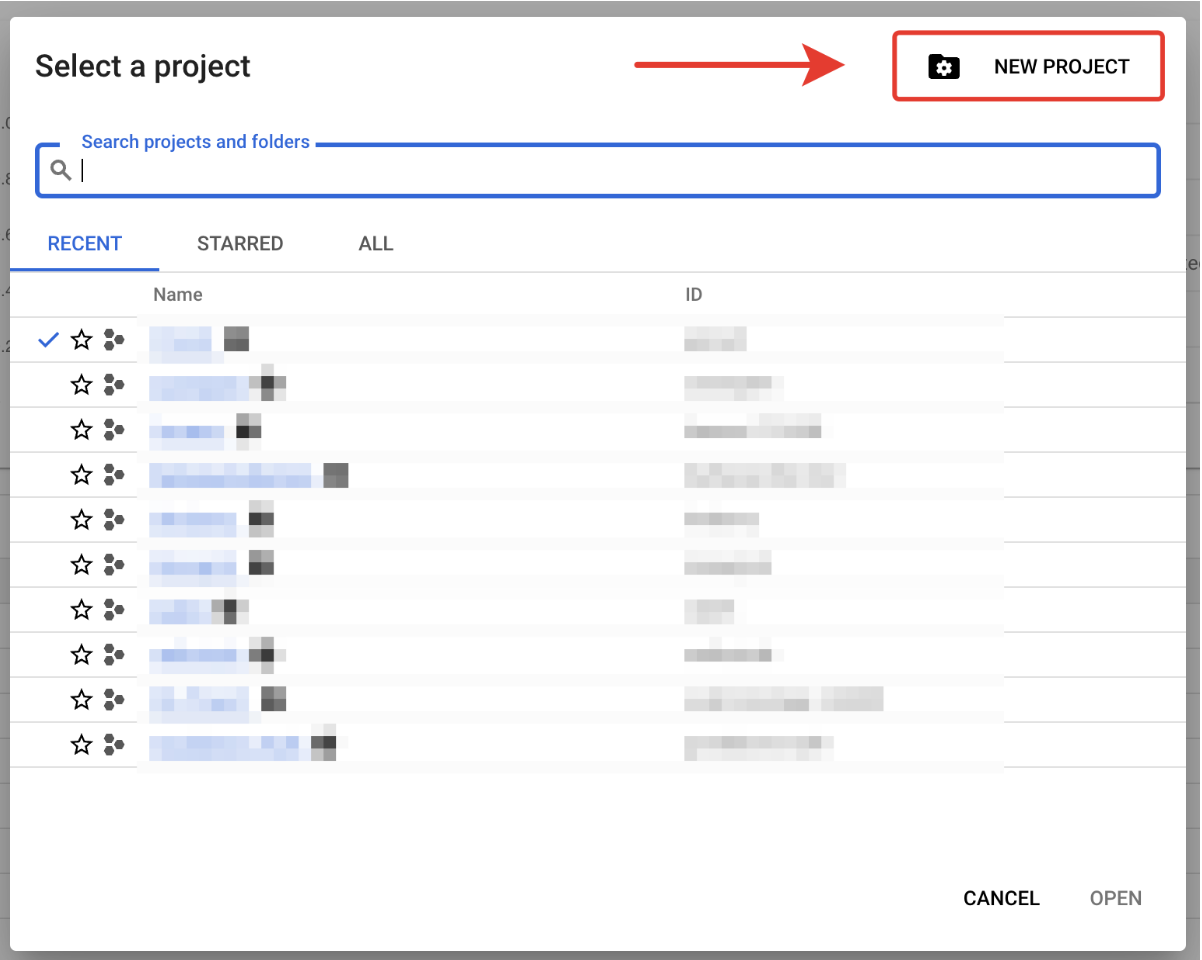
- Enter the project name
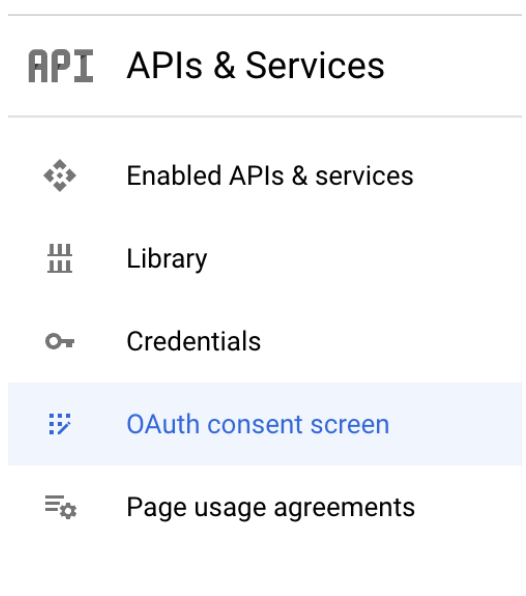
After creating the project, configure it:
Select OAuth consent screen
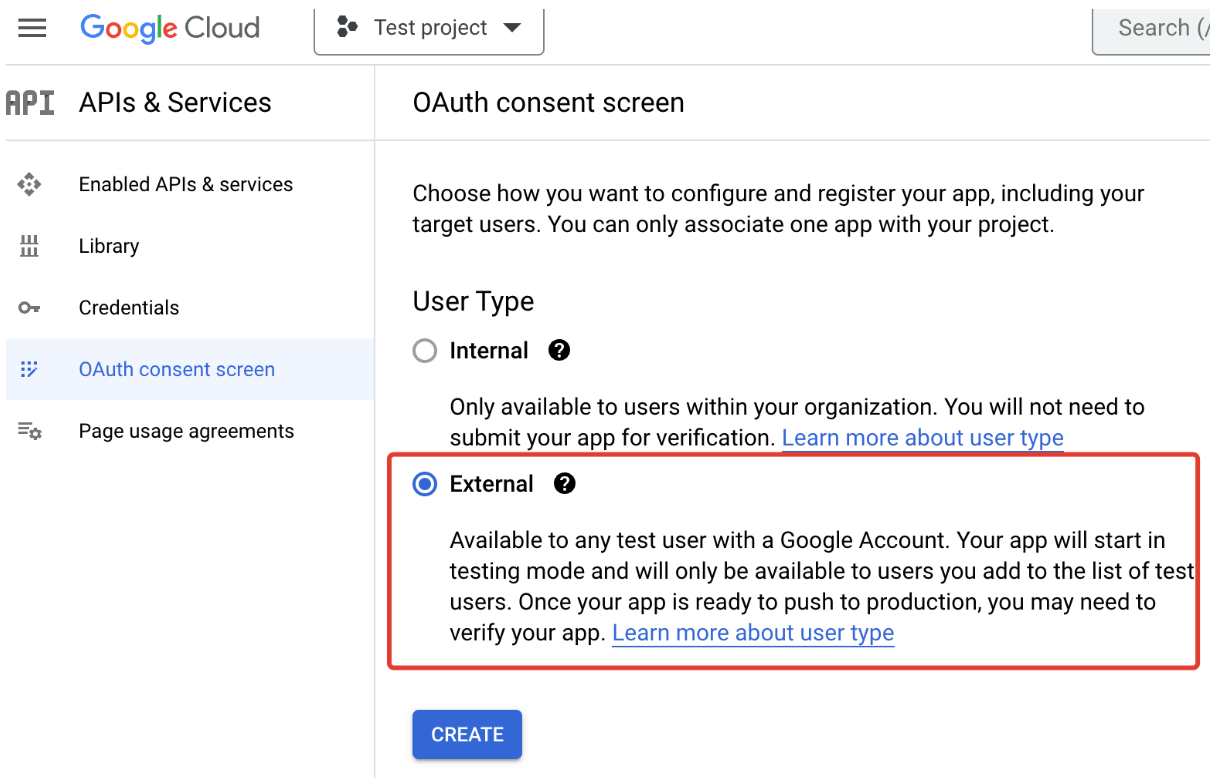
Complete the steps:
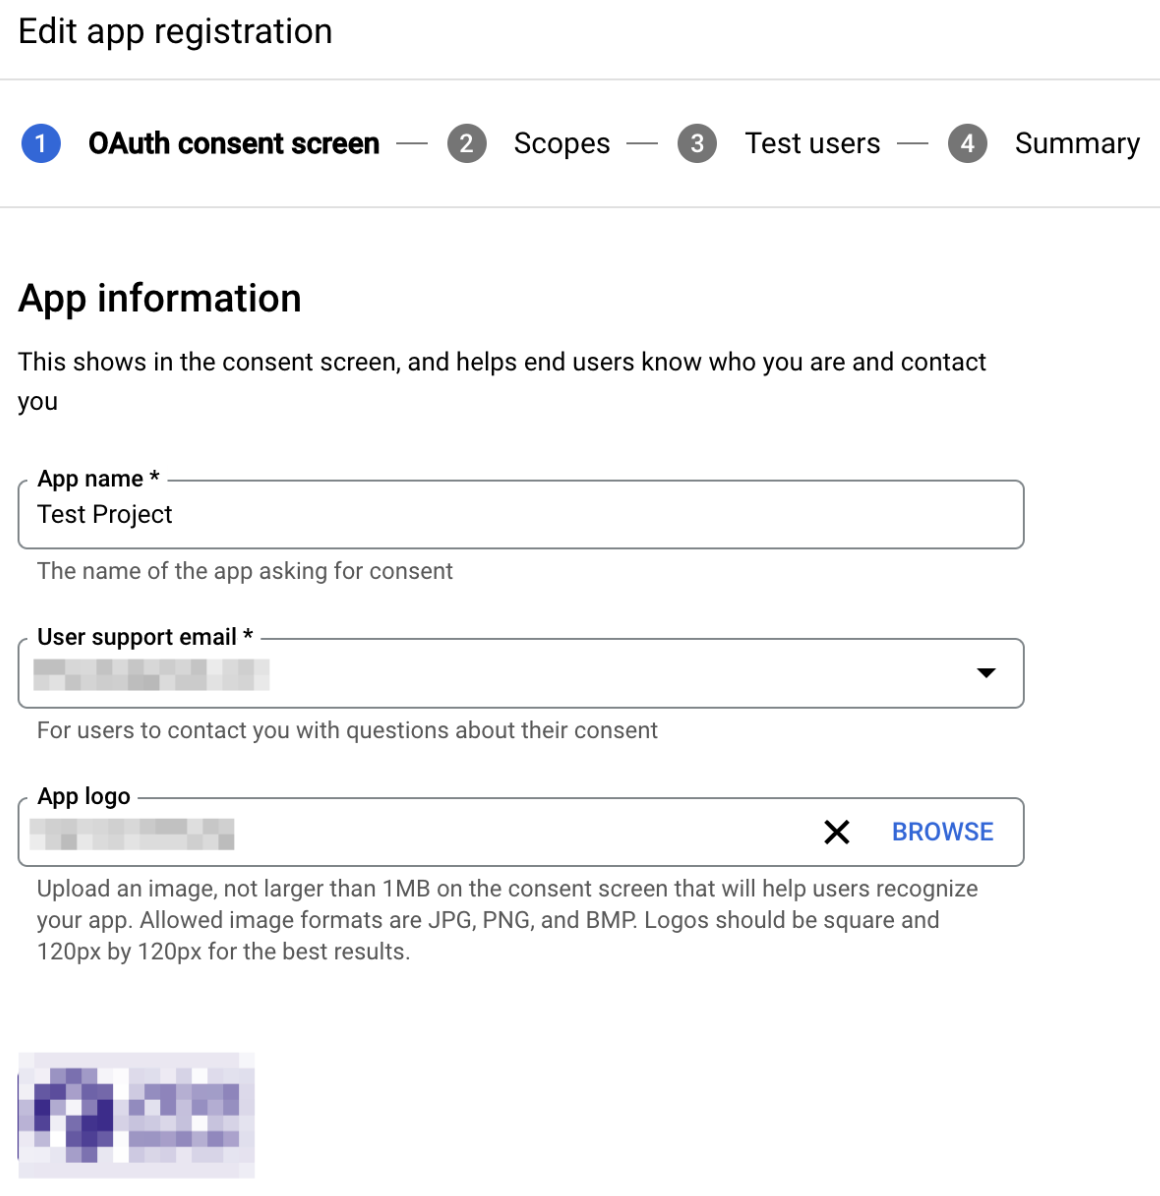
Step 1
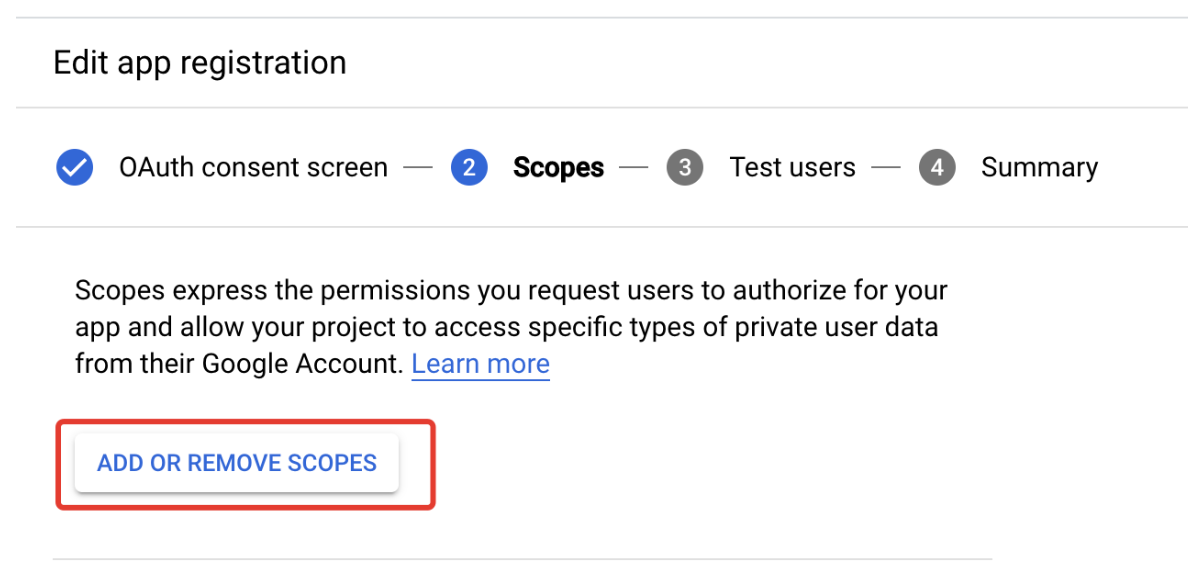
Step 2

Step 3
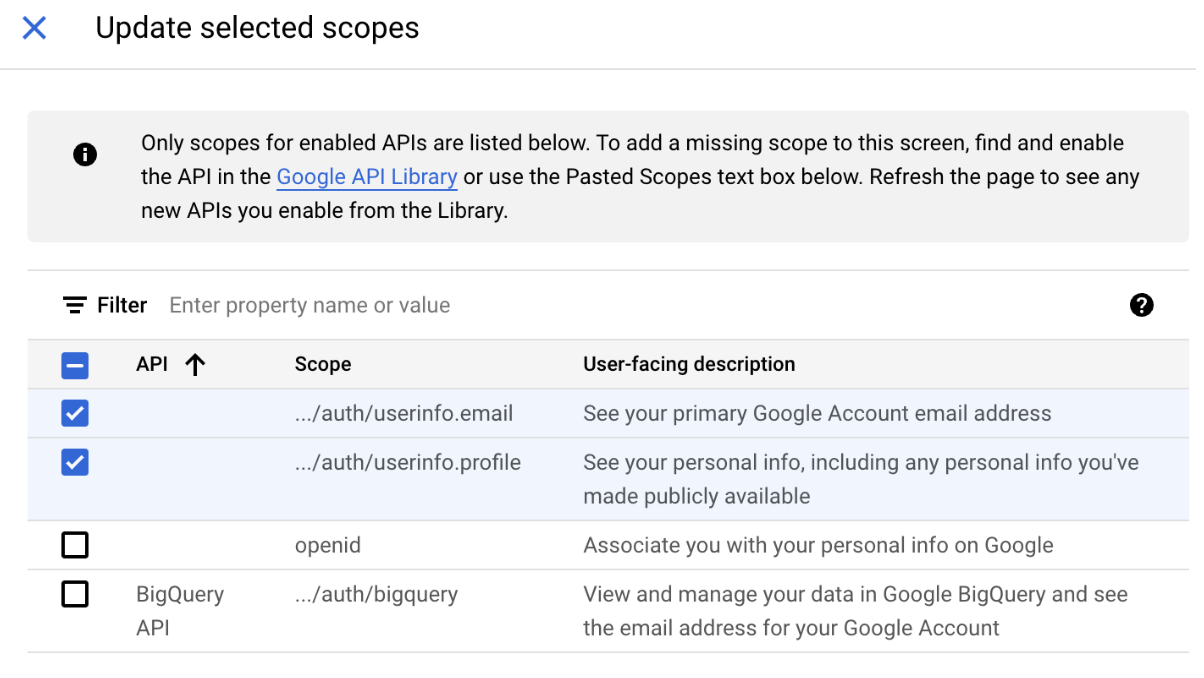
Important
The values you add must match the component's system settings. By default there are 2 scopes (enough for user name and email): "scope":"https://www.googleapis.com/auth/userinfo.profile https://www.googleapis.com/auth/userinfo.email"
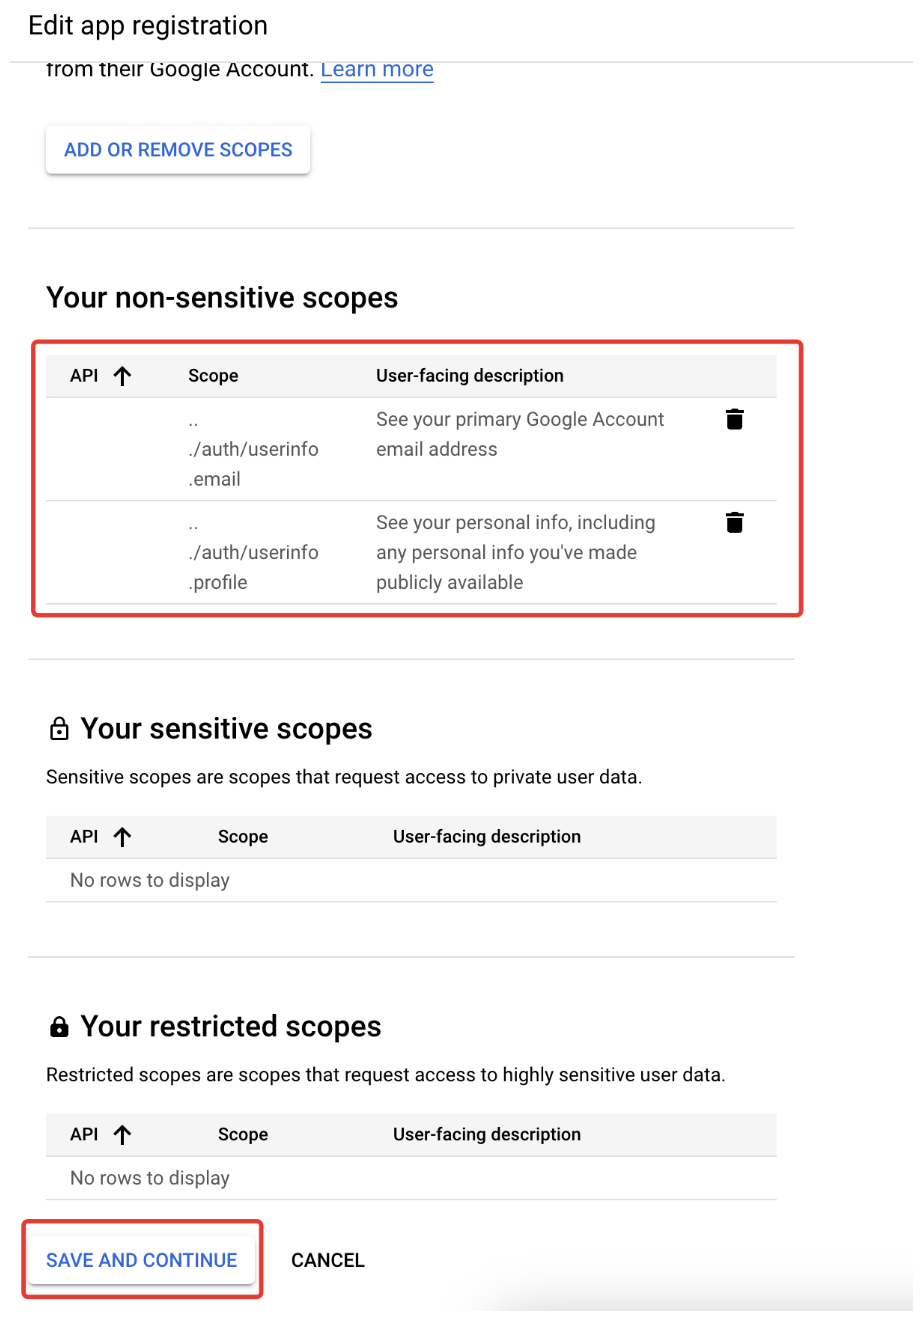
After selecting the scopes, they appear in the list.
Step 4
You can add several test users (email addresses) to test before verifying your project.

On the Summary step, review the data and finish this section.
Next, get the credentials:
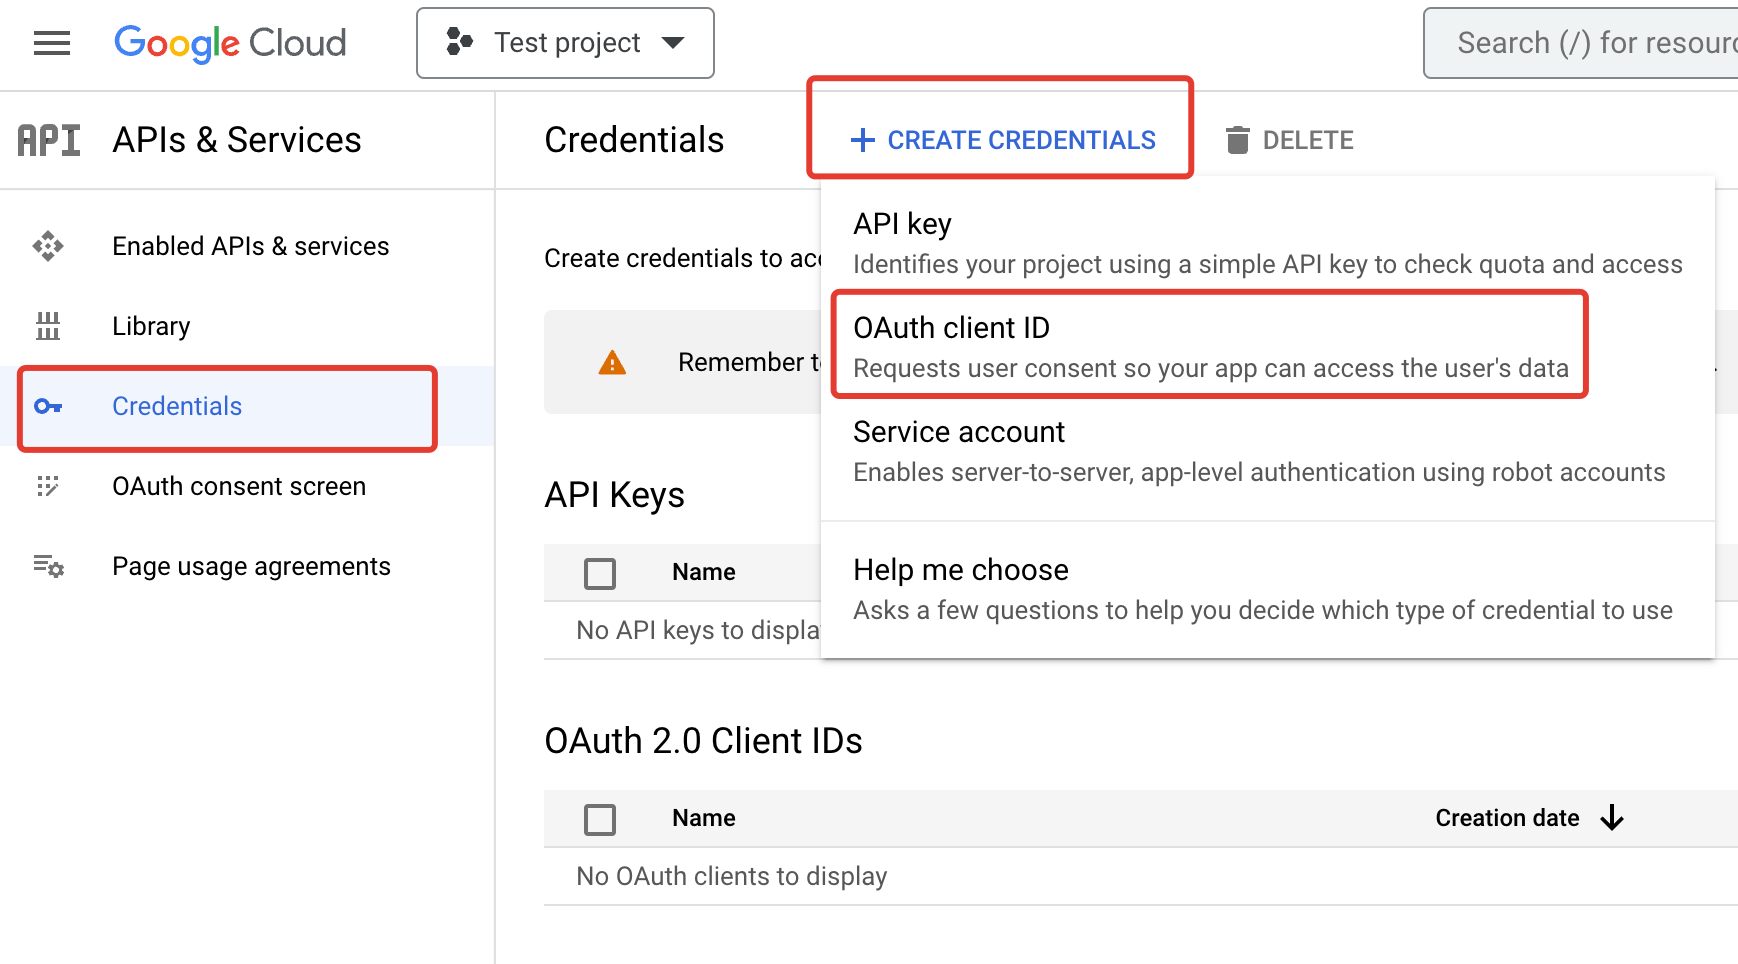
Select Credentials → Create Credentials → OAuth client ID
Choose Web application and set the redirect URL to https://domain.com/?hauth.done=Google

After clicking Create you get the client ID and secret.
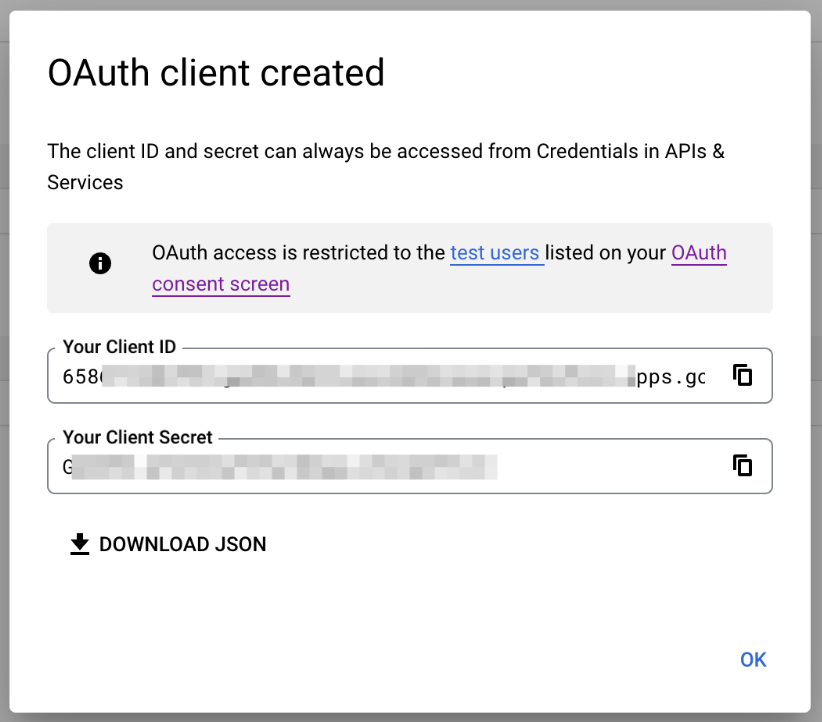
Enter these in your site's system settings.
Service-side setup is done at this point.
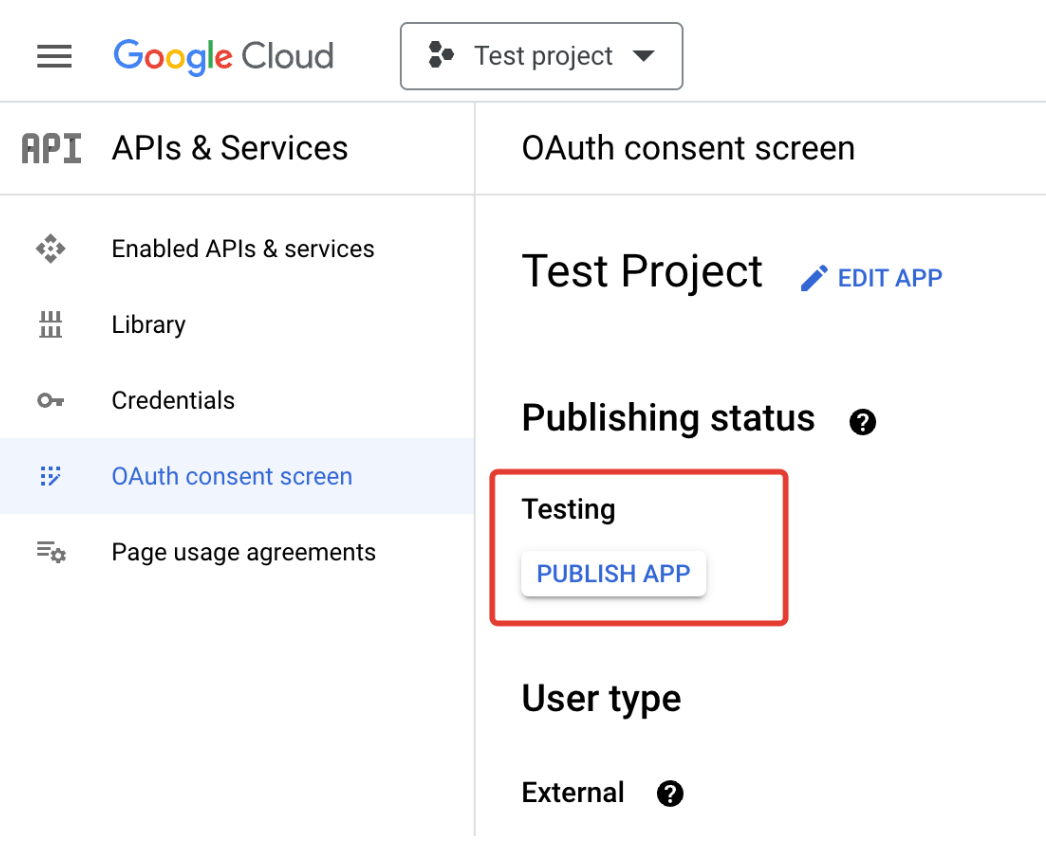
You can submit the app for verification and publish it (until then, only test users can sign in; others will see an "app not verified" warning).
Important
To pass verification you must:
- Use the sign-in button style from the Google Style Guide, even if it doesn't match your design
- Link to your privacy policy from every page (especially the homepage)
- Include text similar to this in your privacy policy:
"By using Google services, you entrust us with your personal information. Google is used for sign-in. For more on Google's Privacy Policy and Terms of Service see here."