


ms3OptionsColor
Swatches for miniShop3 options: HEX, patterns, images, and RAL Classic
- MODX 3
- PHP 8.2
- miniShop3
- Vue 3

In 15 minutes you will install the package, assign HEX to option value color, and show swatches on the product page.
You already have MODX 3, miniShop3, VueTools ≥ 1.1.2-pl, pdoTools, and PHP 8.2+. You need a product with option color and at least one value. The Swatches tab and CMP need msproduct_save on the role (same as saving a miniShop3 product). The package does not create separate ACL keys.
The package prepares the dictionary and RAL Classic database, the menu item, and the plugin: product tab, storefront styles, mFilter.
Direct link: manager/?a=index&namespace=ms3optionscolor.
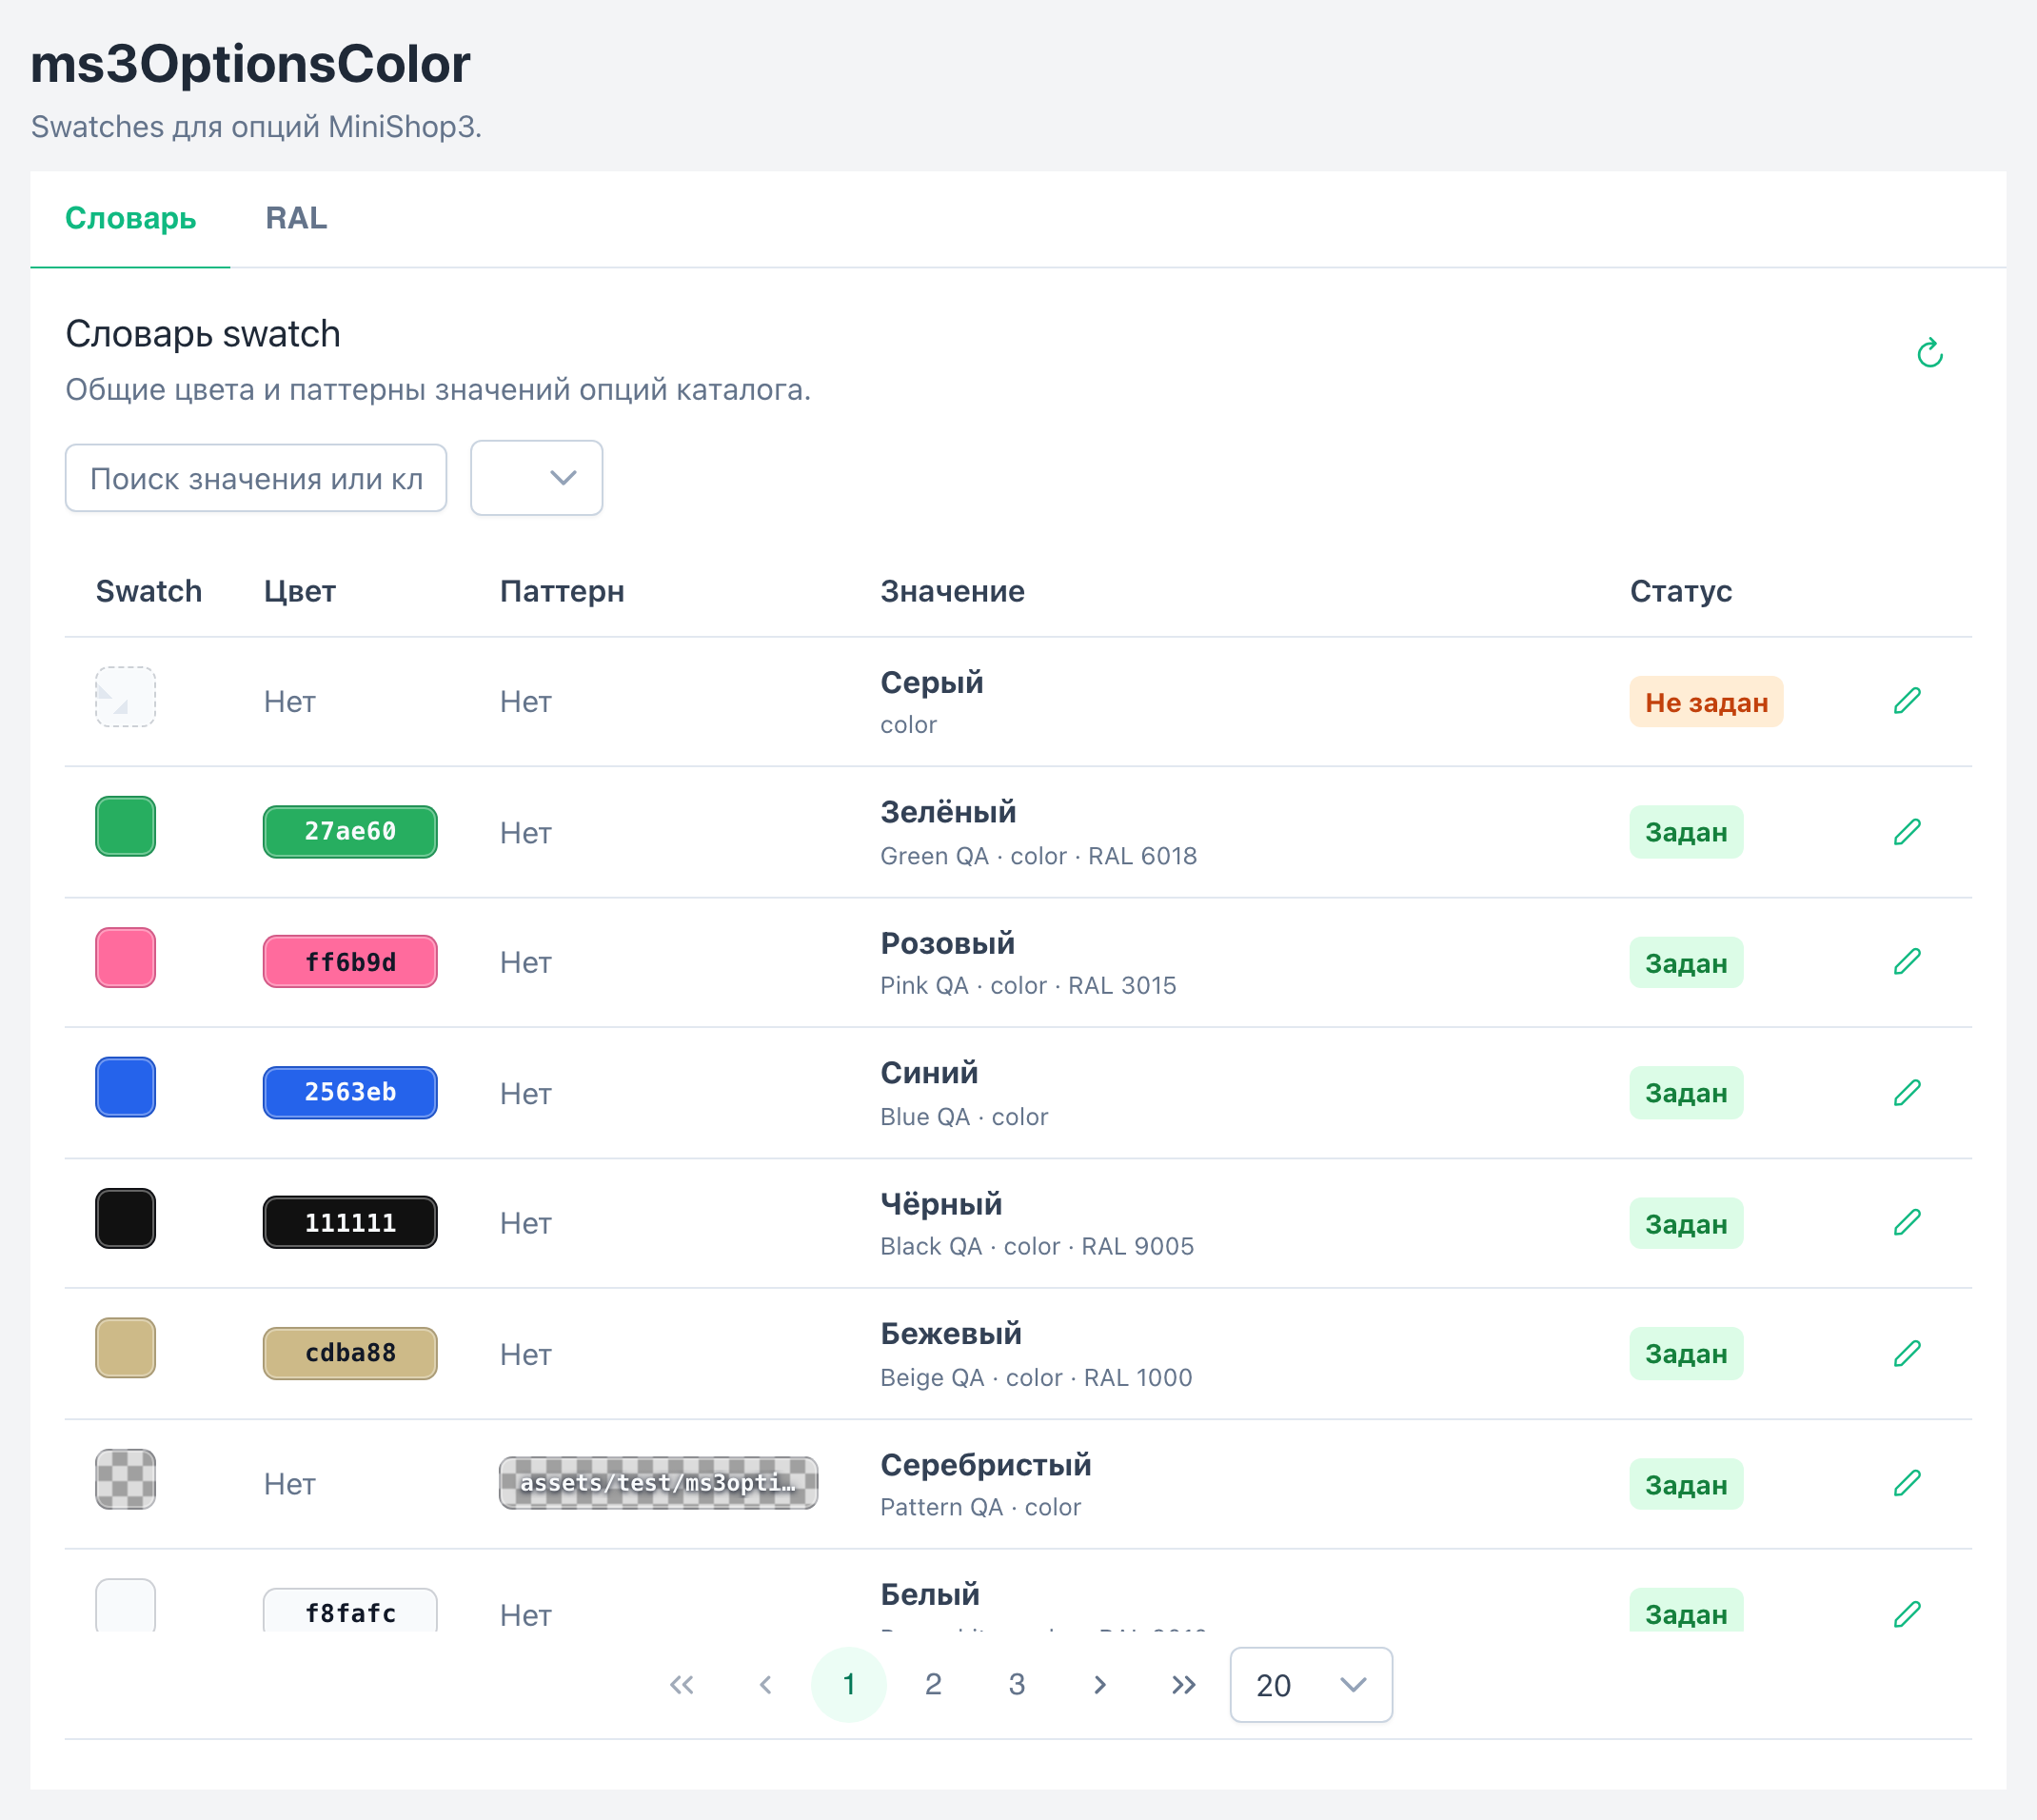
RAL opens the RAL Classic reference when ms3optionscolor_ral_enabled is enabled.
color and save the product.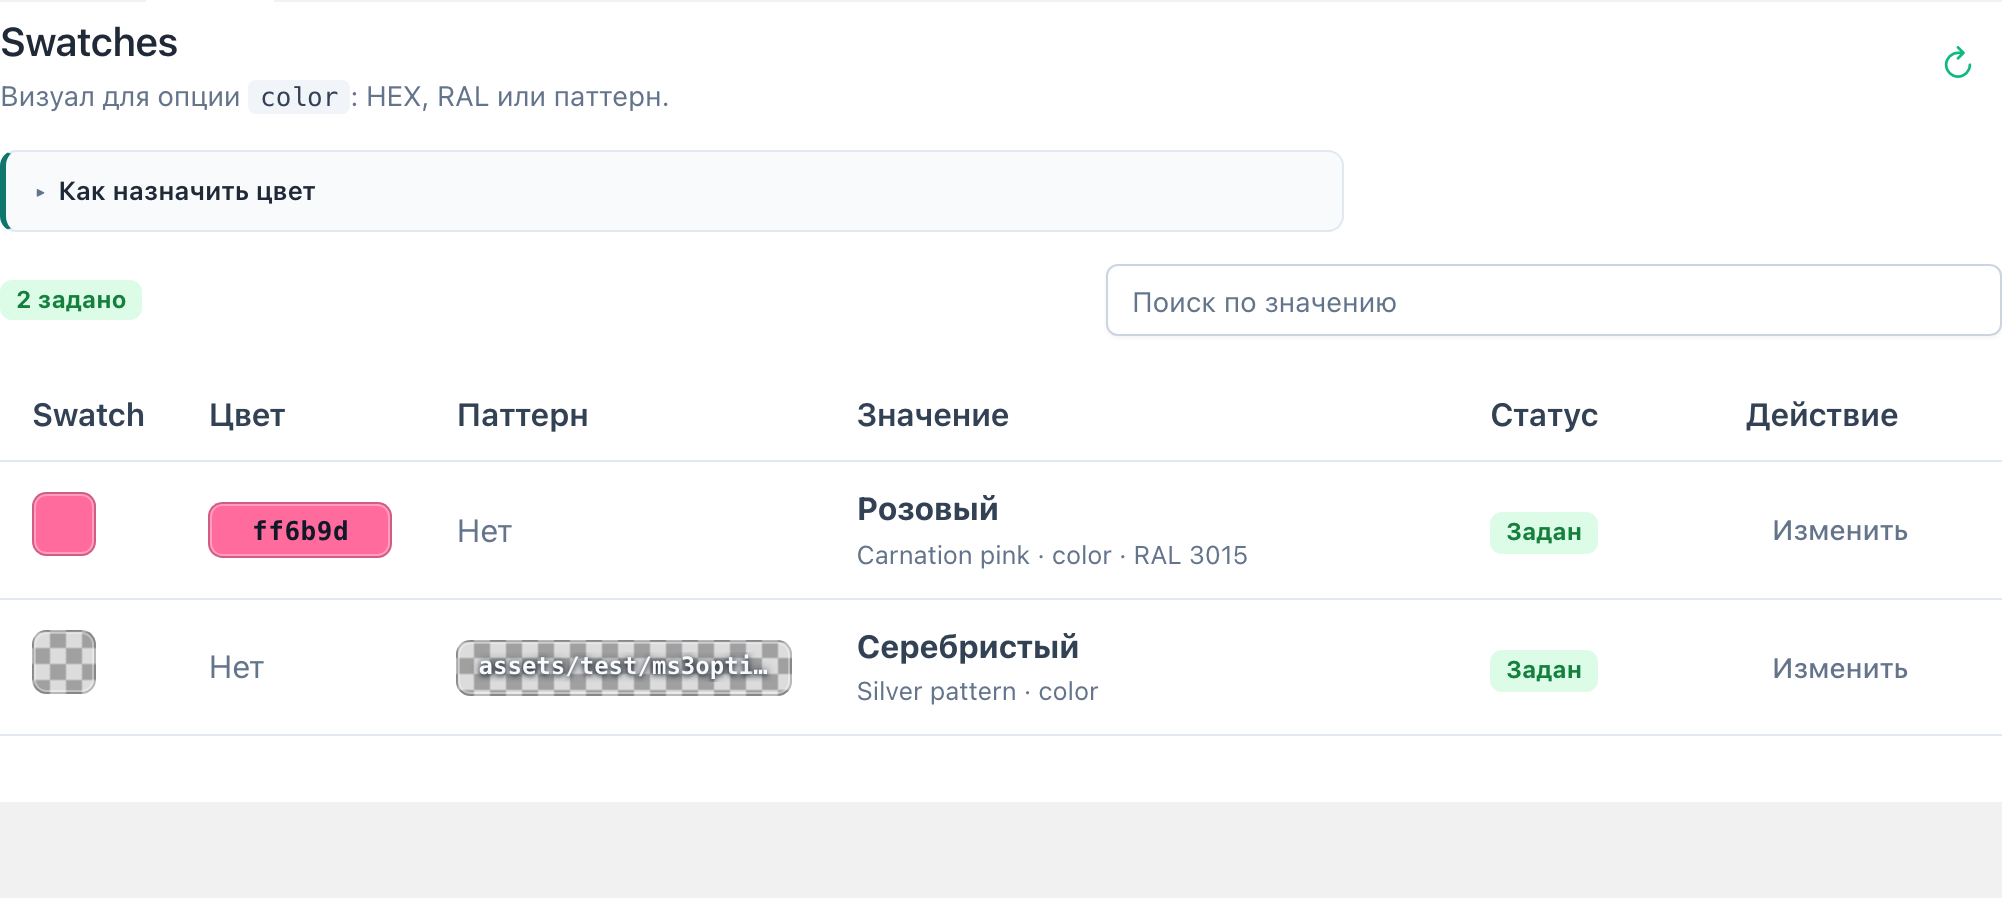
Values without a swatch show status "not set". Click Assign / Edit, enter HEX or RAL, and save.
The record goes into the shared dictionary. The same color=Синий on another product gets the same swatch. On Product properties, assigned values show a color square in the chips.
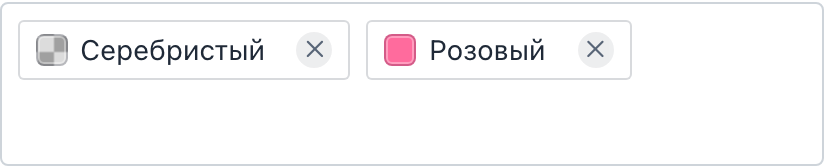
CSS (css/web/main.css) loads when ms3optionscolor_frontend_css=Yes. On the product template the snippet is enough:
{'!ms3OptionsColor' | snippet : [
  'product' => $_modx->resource.id,
  'options' => 'color',
  'tpl' => 'tplMs3OptionsColor'
]}[[!ms3OptionsColor?
&product=`[[*id]]`
&options=`color`
&tpl=`tplMs3OptionsColor`
]]If CSS is disabled, add a manual <link>:
<link rel="stylesheet" href="{'assets_url' | option}components/ms3optionscolor/css/web/main.css"><link rel="stylesheet" href="[[++assets_url]]components/ms3optionscolor/css/web/main.css">
Include select.js and call the chunk:
<script src="{'assets_url' | option}components/ms3optionscolor/js/web/select.js"></script>

{$_modx->getChunk('tplMs3OptionsColorSelect', [
  'product' => $_modx->resource.id,
  'option_key' => 'color',
  'caption' => 'Цвет',
  'placeholder' => 'Выберите цвет',
  'native' => 1
])}<script src="[[++assets_url]]components/ms3optionscolor/js/web/select.js"></script>
[[$tplMs3OptionsColorSelect?
&product=`[[*id]]`
&option_key=`color`
&caption=`Цвет`
&placeholder=`Выберите цвет`
&native=`1`
]]With native=1 you keep a plain <select>. Without the flag, if jQuery and Select2 are on the page, the script builds a dropdown with swatches.
